There’s something magical about Grandma’s Pie Crust that whisks you right back to those lazy Sunday afternoons, the aroma of buttery goodness wafting through the kitchen. Picture this: flour dust dancing in the sunbeams, a rolling pin spinning like a top, and laughter bubbling over as Grandma chastises you for sneaking bites of dough. This is not just pie crust; it’s a nostalgic hug wrapped in flaky perfection.
Jump to:
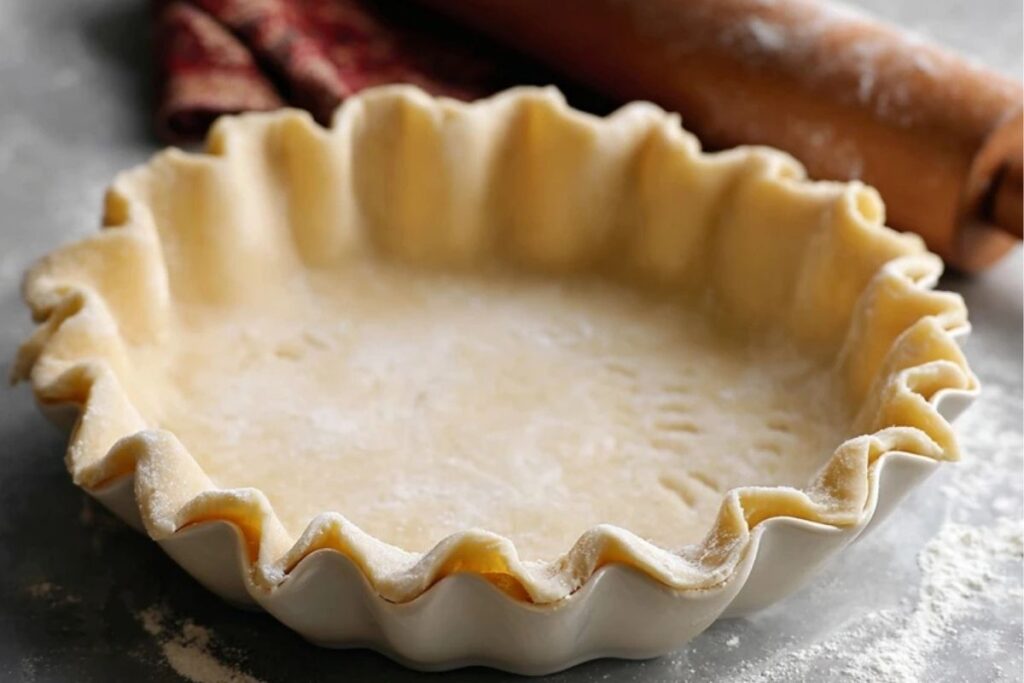
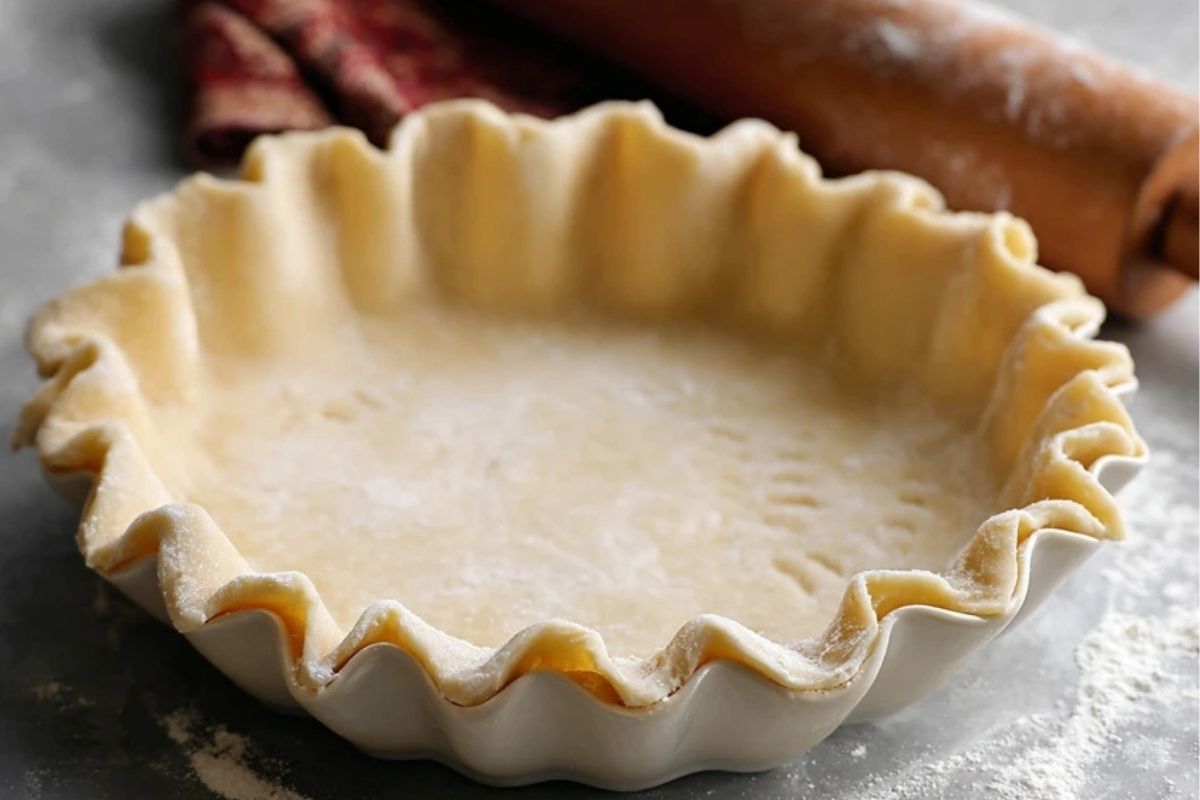
- <img data-pin-title="Irresistible Grandma’s Pie Crust Recipe for Perfect Pies" src="https://ladyplate.com/wp-content/uploads/2025/12/Grandmas-Pie-Crust.jpg" />
- Ingredients for Grandma’s Pie Crust
- How to Make Grandma’s Pie Crust
- <strong>Perfecting the Cooking Process</strong>
- <strong>Add Your Touch</strong>
- <strong>Storing & Reheating</strong>
- FAQs:
- What makes Grandma’s Pie Crust special?
- Can I make Grandma’s Pie Crust ahead of time?
- What type of flour is best for Grandma’s Pie Crust?
- How do I prevent my Grandma’s Pie Crust from becoming soggy?
- Conclusion for Grandma’s Pie Crust:
Every time I make this crust, I can almost hear Grandma’s voice teasing me about my questionable pastry skills. It brings back memories of family gatherings where pies were the centerpiece, and everyone fought over the last slice. Whether it’s summer barbecues or cozy winter evenings, this pie crust sets the stage for sweet or savory delights that will have everyone begging for seconds.
Why You'll Love This Recipe
- This classic pie crust is incredibly easy to make, even if you’ve never touched flour before.
- Its rich flavor and flaky texture elevate any filling, making it an instant crowd-pleaser.
- Visually appealing with its golden brown hue, it will be the star of your dessert table.
- It’s versatile enough for both sweet fruit pies and savory quiches, adapting to whatever you’re craving.

Ingredients for Grandma’s Pie Crust
Here’s what you’ll need to make this delicious dish:
- All-Purpose Flour: This forms the base of your pie crust; opt for a good quality flour for the best results.
- Unsalted Butter: Cold butter is key here; it gives that perfect flakiness and rich flavor to your crust.
- Salt: Just a pinch enhances the flavor; use fine salt to ensure even distribution throughout the dough.
- Ice Water: The cold water binds everything together without melting the butter; keep it icy for best results.
The full ingredients list, including measurements, is provided in the recipe card directly below.
How to Make Grandma’s Pie Crust
Follow these simple steps to prepare this delicious dish:
Step 1: Gather Your Ingredients
Before diving into pie-making madness, gather all your ingredients on a clean countertop. Trust me, chaos in your kitchen only leads to chaos in your crust.
Step 2: Mix Dry Ingredients
In a large mixing bowl, whisk together your all-purpose flour and salt until well combined. It’s like giving your dry ingredients a little spa day before they meet their buttery soulmate.
Step 3: Cut in Cold Butter
Now comes the fun part—cutting in the cold unsalted butter! Use a pastry cutter or two forks to mix until you achieve a crumbly texture resembling tiny peas. If you get distracted by shiny objects during this step (like your cat), just know that little chunks of butter are what make this pie crust divine.
Step 4: Add Ice Water
Gradually add ice water one tablespoon at a time while mixing gently with a fork. Stop when the dough holds together but isn’t sticky; we’re going for “perfectly imperfect” here!
Step 5: Chill Out
Form the dough into a ball and wrap it in plastic wrap. Let it chill in the refrigerator for at least an hour—this is crucial! The colder your dough stays, the flakier your pie crust will be.
Step 6: Roll Out and Bake
Once chilled, roll out on a floured surface to about 1/8-inch thickness. Transfer to your pie pan, trim excess edges, and crimp as desired. Fill with your favorite filling (sweet or savory) and bake according to your recipe’s instructions!
Now you’re ready for success! Serve warm with ice cream or alongside a hearty meal—it pairs beautifully with just about anything!
So there you have it—Grandma’s Pie Crust that will support every sweet ambition you have ever dreamed of baking! What are you waiting for? Grab those ingredients and let nostalgia lead you into deliciousness!
You Must Know
- This delightful Grandma’s Pie Crust is not just a recipe; it’s a family heirloom that adds warmth to any gathering.
- Its flaky texture and buttery flavor make it the perfect base for your favorite pies.
- Customize it as you like, and watch it become a staple in your kitchen!
Perfecting the Cooking Process
Begin by chilling your ingredients to achieve that perfect flaky crust. Mix the flour and butter until crumbly, then add ice water gradually. Roll it out on a floured surface and transfer to your pie dish. Simple, effective, and delicious!
Add Your Touch
Feel free to swap in different flours like whole wheat or almond for a twist. Add spices like cinnamon or nutmeg for an aromatic kick, or sprinkle some sugar for sweetness if you’re making dessert pies. Your creativity knows no bounds!
Storing & Reheating
To store, wrap the pie crust tightly in plastic wrap and refrigerate for up to three days. If freezing, double-wrap it to prevent freezer burn. Reheat by letting it sit at room temperature before baking again.
Chef's Helpful Tips
- Keep your butter cold before mixing; this ensures a flaky texture in your crust.
- Don’t overwork the dough—mix just until combined for best results.
- Lastly, let the pie crust rest in the fridge to relax the gluten before rolling it out.
Sometimes, I can still hear my grandma’s laughter as she rolled out her pie crust, flour flying everywhere like confetti at a party. Those moments made me realize that cooking is about joy—and maybe a little mess too!
FAQs:
What makes Grandma’s Pie Crust special?
Grandma’s Pie Crust stands out due to its flaky texture and rich flavor. The secret often lies in the use of cold butter and minimal handling of the dough. This method helps achieve a tender crust that melts in your mouth. Many families have their own variations, which may include unique spices or techniques passed down through generations. The love and care put into preparing this pie crust elevate it, making every pie a cherished family favorite.
Can I make Grandma’s Pie Crust ahead of time?
Yes, you can prepare Grandma’s Pie Crust in advance! To do this, roll it out and place it in a pie dish. Cover it tightly with plastic wrap and store it in the refrigerator for up to three days. For longer storage, consider freezing the unbaked crust. Wrap it well in foil or a freezer-safe bag, and it can last up to three months. When you’re ready to bake, just thaw in the fridge overnight before use.
What type of flour is best for Grandma’s Pie Crust?
All-purpose flour is typically the best choice for Grandma’s Pie Crust. It provides the perfect balance of protein that allows for a flaky texture while also being easy to work with. Some bakers prefer using a blend of all-purpose and cake flour for an even lighter crust. However, it’s essential to avoid using bread flour, as its higher protein content can lead to too much gluten development, resulting in a tough crust instead of a tender one.
How do I prevent my Grandma’s Pie Crust from becoming soggy?
To prevent sogginess in Grandma’s Pie Crust, consider blind baking your crust before adding fillings. This involves pre-baking the crust with weights to set it before filling. Additionally, brushing the bottom with egg wash or sprinkling some cornstarch can create a barrier against moisture from juicy fillings. Using chilled ingredients and keeping everything cold until baking also helps maintain its integrity during cooking.
Conclusion for Grandma’s Pie Crust:
In summary, mastering Grandma’s Pie Crust is essential for creating delicious pies that delight family and friends alike. Key steps involve using cold ingredients and minimizing dough handling for that perfect flaky texture. Planning ahead by preparing the crust in advance allows you to save time when baking your favorite pies. With these tips and techniques, you’ll be well on your way to enjoying homemade pies that pay homage to cherished family traditions.